Winter may seem like an unlikely time to start your gardening endeavors, but for those interested in propagating native plants, it’s the perfect opportunity to embrace the practice of winter sowing.
Winter sowing is a simple, cost-effective, and environmentally friendly method of growing native plants.
In this blog post, we’ll explore the concept of winter sowing, its benefits, and the steps you can take to get started with propagating native plants during the coldest months.

What is Winter Sowing?
Winter sowing is a technique that mimics nature’s own processes by sowing seeds outdoors in containers during the winter. Especially in areas with true winter seasons.
These containers act as mini-greenhouses, allowing seeds to experience natural temperature fluctuations and cold stratification and receive ample sunlight as they would in the wild.
We use milk jugs to start new plants in January/February outside in northern Missouri. It’s a more reliable way to keep track of new plants than planting them directly in your garden in the fall.
Benefits of Winter Sowing:
- Natural Conditions: Winter sowing allows seeds to germinate under conditions similar to their native habitat, leading to hardier and more resilient plants.
- Low-Cost Propagation: This method is incredibly budget-friendly, as it requires minimal equipment and resources. You can even use recycled containers.
- Saves Indoor Space: Unlike traditional indoor seed starting, winter sowing frees up valuable indoor growing space and reduces the need for grow lights.
- Protects Seeds: Seeds and freshly sprouted plants are protected in containers from predators like bird.
- Increased Diversity: You can propagate a wide variety of native plants, expanding your garden’s ecological diversity.
Getting Started with Winter Sowing:
1. Gather Supplies:
You’ll need containers with lids, like milk jugs, soda bottles, or clear plastic storage containers. Additionally, you’ll need potting soil and, of course, native plant seeds.
2. Choose Native Plants:
Select native plants that are well-suited to your region. Native plants are adapted to local conditions, making them hardy and low-maintenance additions to your garden.
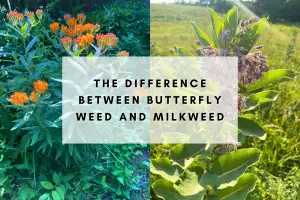
Research which plants are native to your area and match your garden’s requirements. Milkweed is a great plant to attract monarch butterflies to your butterfly garden, and you can start other native pollinator plants like coneflowers, butterfly weed, bee balm and astors.
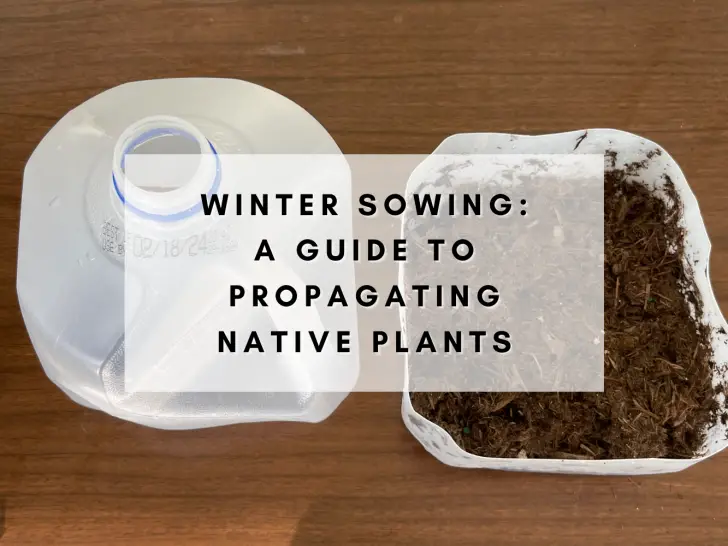
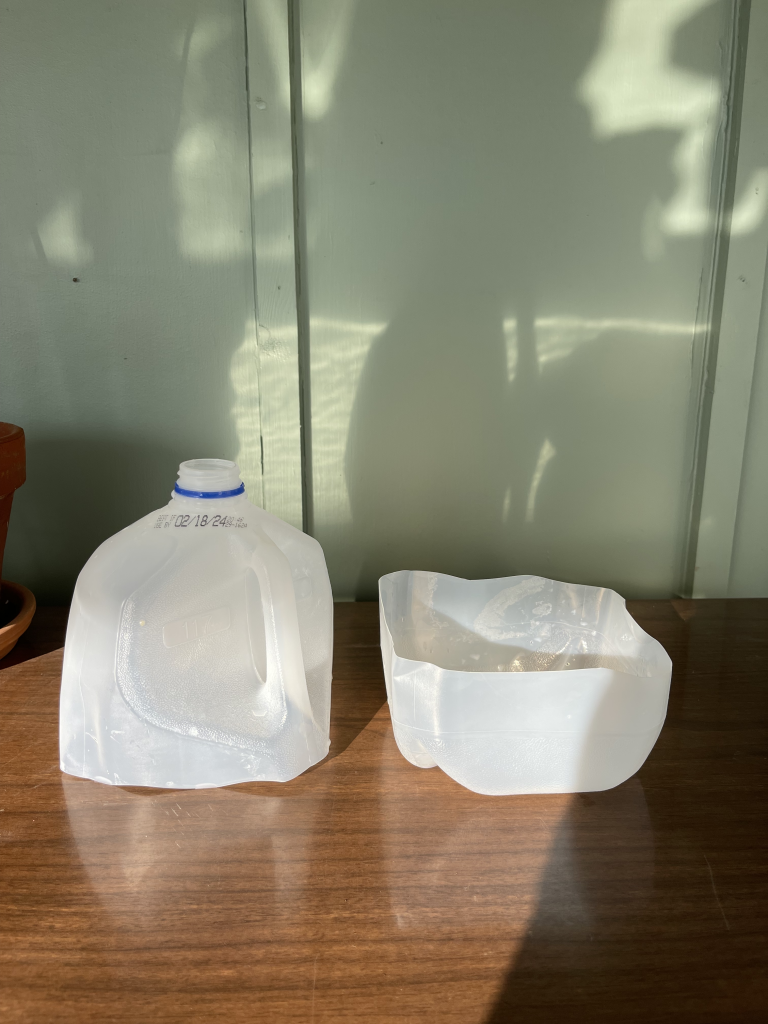
3. Prepare Containers:
Cut the containers in half (or leave a small piece connected to create a hinge) and create a few drainage holes in the bottom. Fill the bottom with a few inches of potting soil. Moisten the soil until it’s damp but not soggy.
Uncover the secrets to successful winter gardening with our essential tips. #SeedStarting #WinterGarden

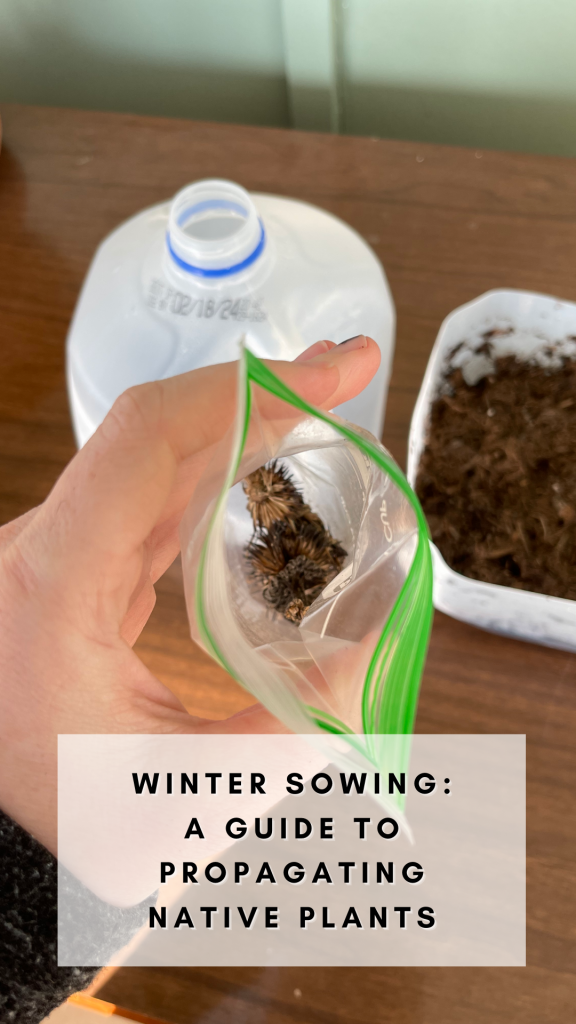
4. Plant Seeds:
Sow the native plant seeds into the soil. You can separate each container by the type of seed or plant multiple plants together.
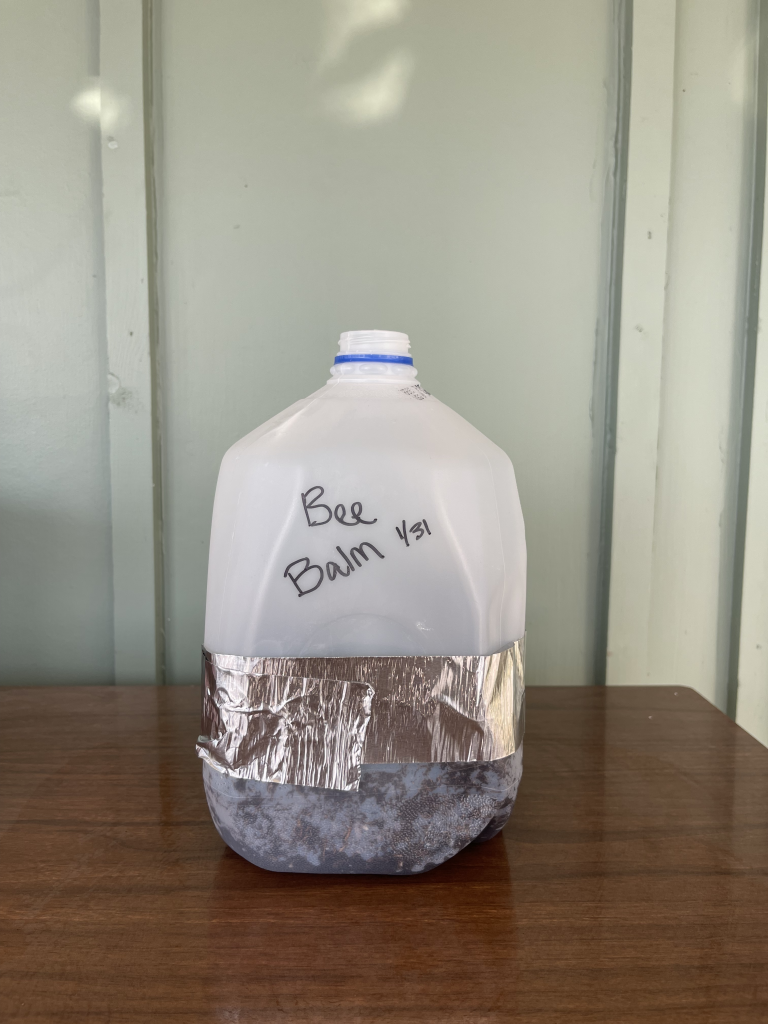
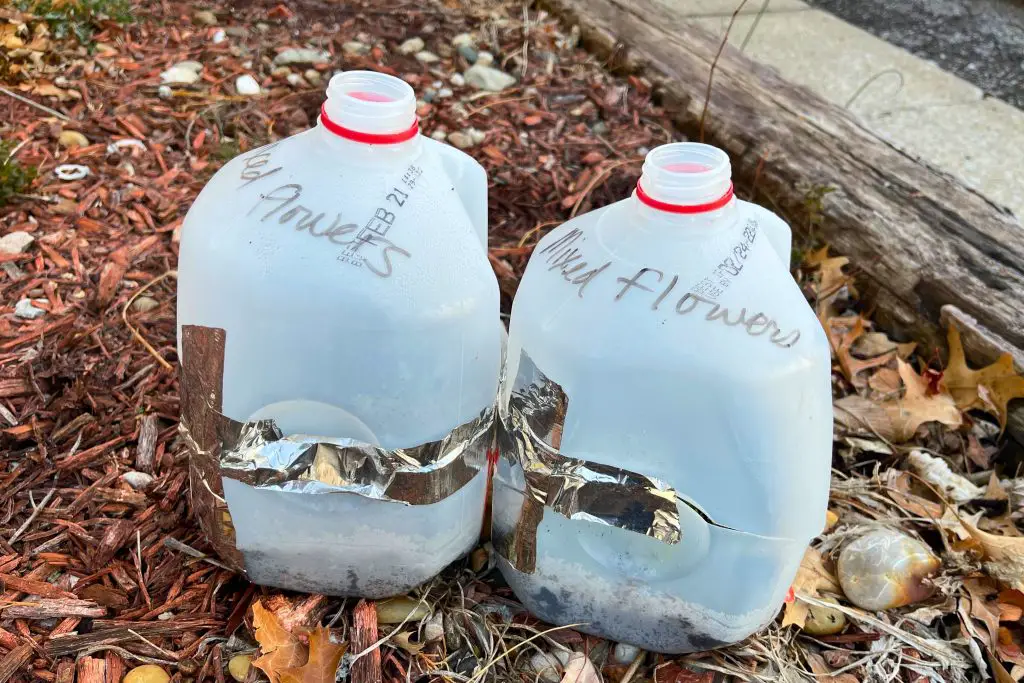
5. Label and Ventilate:
Label each container with the plant name and date sown. Place the lid on the container, but remember to leave it partially open for ventilation. This will prevent excessive condensation. If you used a milk jug, tape the two halves back together and leave the milk jug lid off.
6. Position Containers:
Set the containers outdoors in a location that receives direct sunlight for at least a few hours a day. Orient them so the lids can catch rain and allow moisture in.

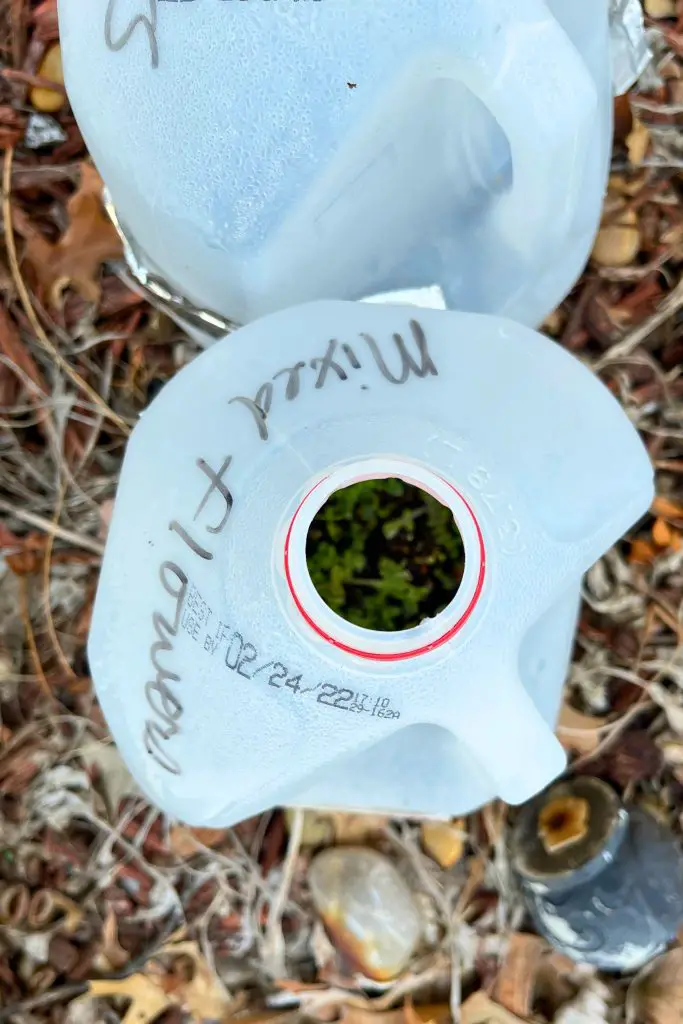
7. Monitor and Transplant:
Check the containers periodically to ensure they remain adequately watered and ventilated.
Within a few weeks, you’ll notice your seeds sprouting. When spring arrives, your seedlings will be ready to transplant into your garden.
Winter sowing of native plants is a rewarding and sustainable method of propagating a diverse array of species.
By following these steps and choosing native plants well-suited to your region, you can enjoy the benefits of healthy, resilient, and environmentally responsible gardening.
So, this winter, embrace the opportunity to foster biodiversity and ecological balance in your garden by giving winter sowing a try. Your efforts will not only beautify your space but also contribute to the preservation of native flora in your area. Happy gardening!
Save this post or share it with your friends on Pinterest: