Fall is one of most people’s favorite season. The colors, the cooler temperatures and the fall activities make it a special time to wind down before winter. Learn how to press leaves, ensuring that the colors and textures of fall remain with you long after the season has passed.
The process of pressing leaves is really simple and can be applied to flowers and your favorite foliage all year.
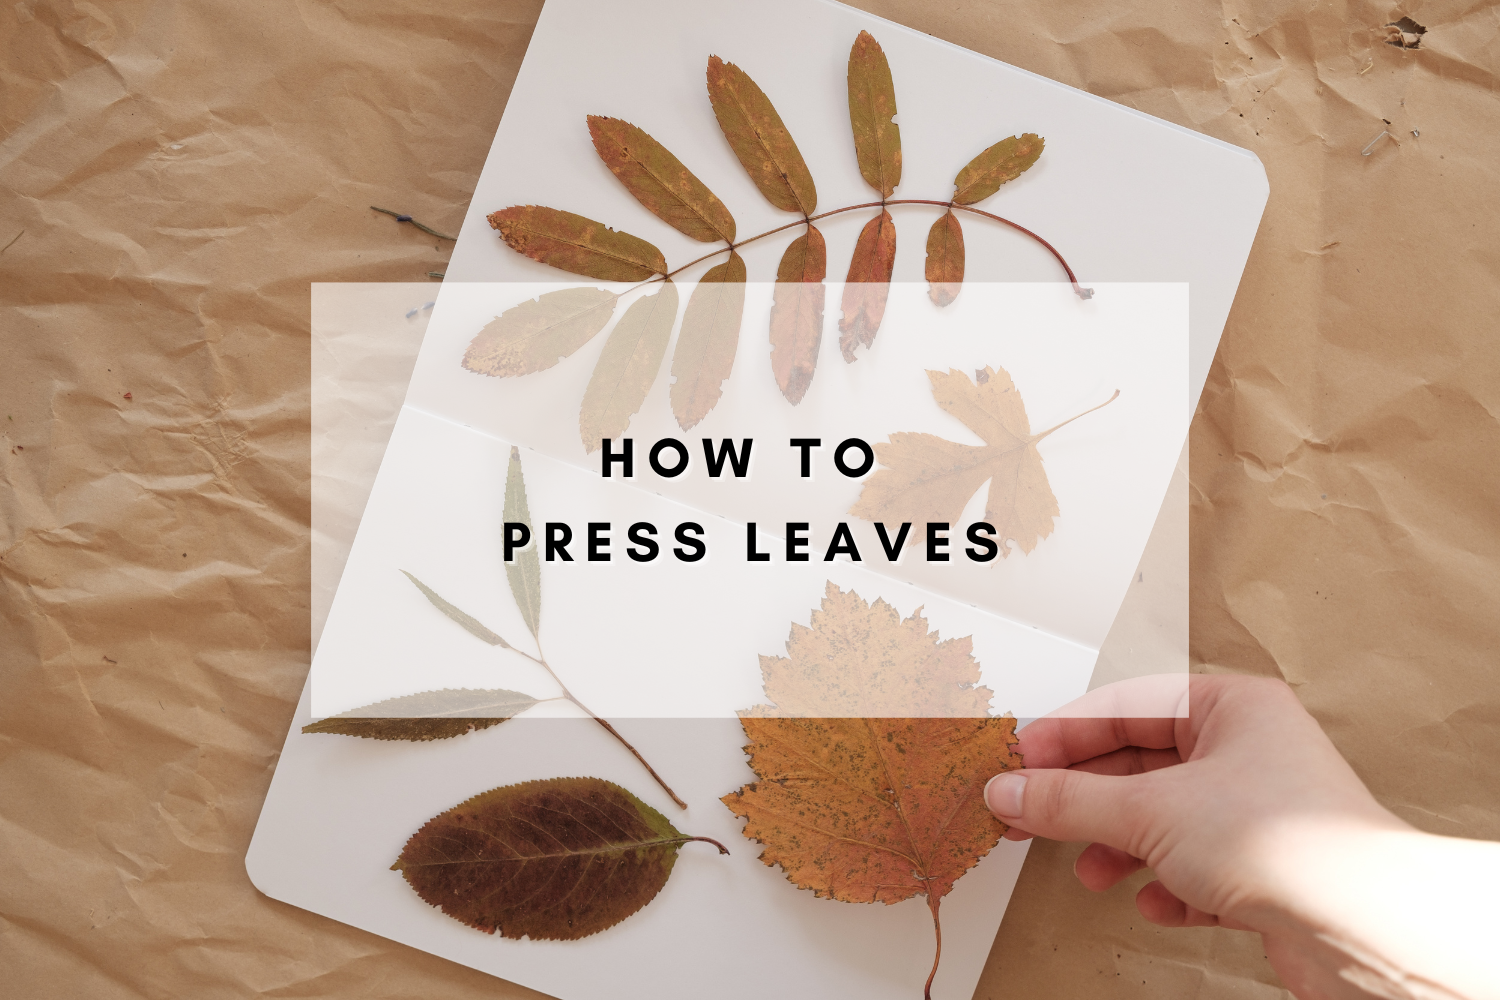
How to Press Leaves:

Materials You’ll Need:
- Fresh Leaves: Collect vibrant and healthy leaves. Experiment with various types to create a diverse collection.
- Blotting Paper or Newspaper: Absorbent paper helps remove moisture from the leaves without causing them to rot.
- Heavy Books or a Leaf Press: These provide the weight and pressure necessary to flatten and dry the leaves.
- Wax Paper or Parchment Paper: Prevents leaves from sticking to blotting paper or the pages of a book.
- Weights: Heavy objects like bricks or additional books can help evenly distribute pressure.
The Process of Pressing Leaves:

Leaf Selection:
- Choose leaves that are freshly fallen and free from blemishes or damage.
- Pick a variety of leaf shapes and colors for a diverse collection.
Leaf Preparation:
Gently wipe the leaves with a soft, dry cloth to remove any surface dirt or moisture.
Layering and Pressing:
- Open a heavy book or use a leaf press.
- Lay down a sheet of wax paper or parchment paper to protect the pages.
- Arrange your leaves on the paper, making sure they don’t overlap.
- Cover the leaves with another sheet of wax paper or parchment paper.
- Close the book or leaf press and place weights on top to apply even pressure.
Drying and Pressing Time:
- Leave the leaves in the book or leaf press for at least 1-2 weeks to ensure they’re fully dried and flattened.
- Check the leaves periodically to ensure they’re drying evenly and not developing mold.
Leaf Inspection:
- Carefully remove the pressed leaves from the book or press.
- If the leaves are stuck to the wax paper, gently peel them off, being cautious not to tear them.
Tips and Tricks:
- Timeliness is Key: Press your leaves as soon as possible after collecting them to prevent decay.
- Leaf Type Matters: Different leaves require different drying times. Thicker leaves may take longer to dry than thinner ones.
- Consider Microwaving: In a pinch, you can place leaves between two paper towels and microwave them in short bursts to speed up the drying process.
- Seal and Display: Once your leaves are pressed and dry, you can seal them with clear adhesive to protect their color and enhance their longevity. Arrange them in a frame or create leaf-themed crafts.

Ideas for Displaying Pressed Leaves
Displaying pressed leaves can be a wonderful way to showcase the beauty of nature and your creativity. Here are some creative ideas for displaying pressed leaves:
Framed Leaf Art:
- Arrange pressed leaves in an artistic pattern on a background of contrasting color.
- Place the arrangement inside a photo frame, and secure them in place with double-sided tape or glue.
- Hang the framed leaf art on your wall for a visually striking and nature-inspired decoration.
Leaf Garland
- String together pressed leaves to create a garland.
- Attach the leaves to a length of twine or string using hot glue or small clips.
- Hang the leaf garland along a mantel, window, or across a room for a whimsical touch of autumn indoors.
Shadow Boxes:
- Select a shadow box or deep frame.
- Arrange pressed leaves inside the box, creating layers and depth.
- Close the box and hang it on the wall or place it on a shelf for a 3D leaf display.
Laminated Leaf Placemats:
- Laminate pressed leaves between sheets of clear adhesive paper.
- Trim the laminated leaves to create placemats.
- Use them to add a touch of nature to your dining table.
Leaf Coasters:
- Laminate individual pressed leaves to make coasters.
- These coasters can protect your tables from drink condensation while adding a touch of the outdoors to your decor.
- Take is a step further and use resin molds and epoxy resin to make your coasters.
Pressed Leaf Candles:
- Create unique candles by attaching pressed leaves to plain, white candles.
- Use decoupage glue to affix the leaves to the candle surface.
- When you light the candle, the warm glow will highlight the intricate leaf patterns.
Leaf Mobile:
- Suspend pressed leaves from a wooden hoop or embroidery hoop using clear nylon thread.
- Hang the mobile near a window or in a corner for a captivating, floating leaf display.
Leaf Vases or Candle Holders:
- Decorate glass vases or candle holders with pressed leaves.
- Attach the leaves using clear adhesive or Mod Podge.
- Place a candle inside for a warm, cozy ambiance.
Seasonal Table Runner:
- Create a stunning table runner by adhering pressed leaves to a plain fabric runner.
- This adds a touch of autumn to your dining table during the fall season.

Leaf Art on Canvas:
- Arrange pressed leaves on a canvas, creating a beautiful mosaic or pattern.
- Secure the leaves in place with Mod Podge or clear adhesive.
- Hang the leaf art as a focal point in your home.
Pressed Leaf Bookmarks:
- Laminate pressed leaves to create sturdy, decorative bookmarks.
- They not only keep your place in a book but also add a natural touch to your reading.
Decorated Photo Frames:
- Enhance plain photo frames by attaching pressed leaves to the borders.
- These frames will beautifully complement autumn-themed photos.
Digitized Pressed Leaves:
- Use a scanner to scan in your pressed leaves to create a digital design that can be printed or used in a variety of ways.
You can get as creative as you want when it comes to displaying your pressed foliage creations. This is just a fun list to get your wheels turning. It’s a fantastic way to celebrate the beauty of the changing seasons and bring a touch of nature into your home.
Pressing leaves is a simple yet rewarding way to preserve the beauty of seasons. Whether you’re trying to capture the seasons, create leafy decorations, or enjoy a timeless art project with your family, leaf pressing is a simple and rewarding process.