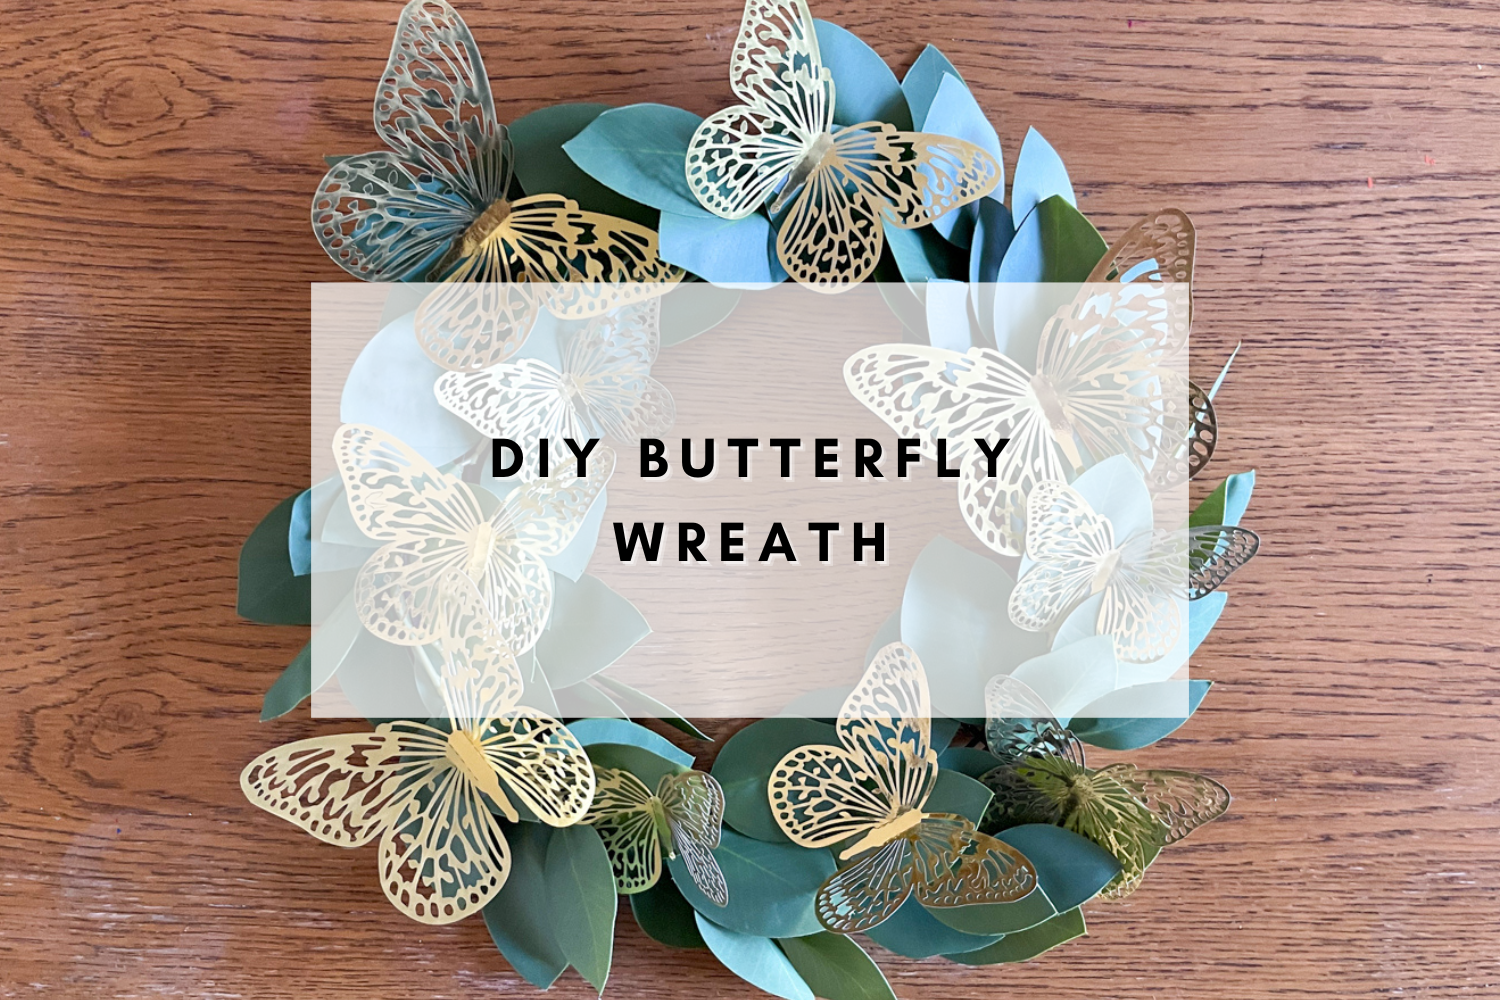
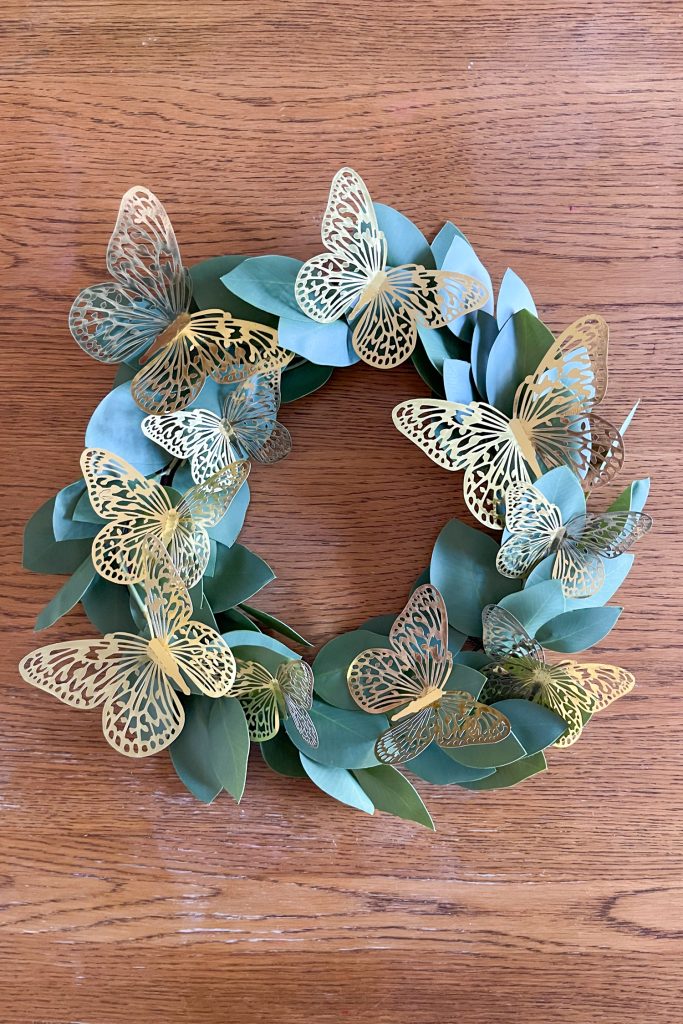
This DIY butterfly wreath is a quick and easy project and a great way to welcome spring or celebrate summer, or just display your love of butterflies and pollinators all year long!
If you’re looking for a new way to decorate your front door this year, consider this idea for one of your spring wreaths. You can make this easy butterfly wreath in less than an hour, and it really turns out so beautifully.
Sometimes I think butterfly crafts can be a bit corny, but this one turned out better than I imagined. With a few simple supplies, you can pull off this fun project in no time and spruce up your spring or summer home decor!
Another great thing about this project is that there are so many different ways to achieve a similar look. I’ll share the exact supplies I used for this wreath down below, but you can also experiment with other materials, like paper butterflies cut with a Cricut, or really anything you can make into a butterfly shape.
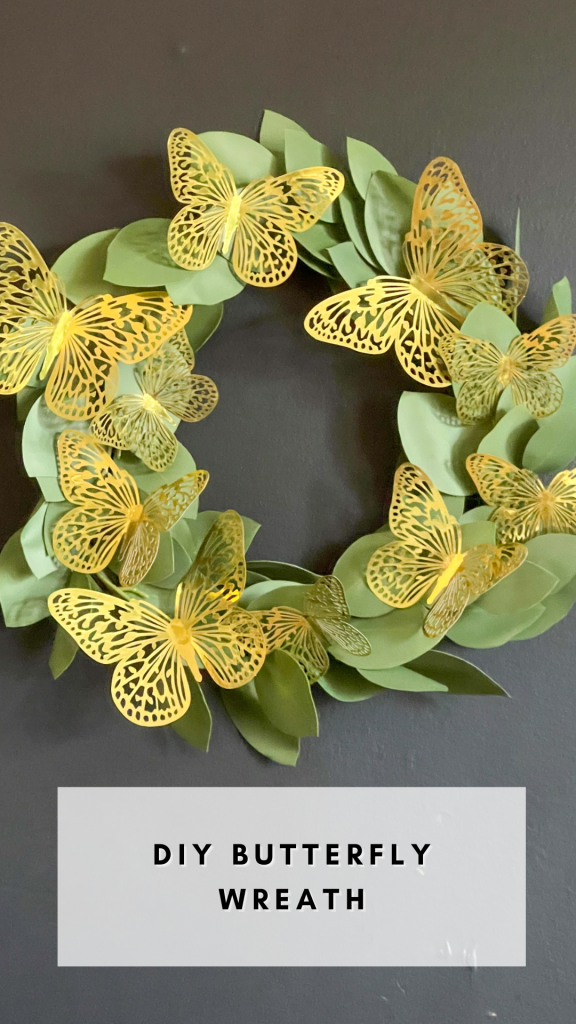
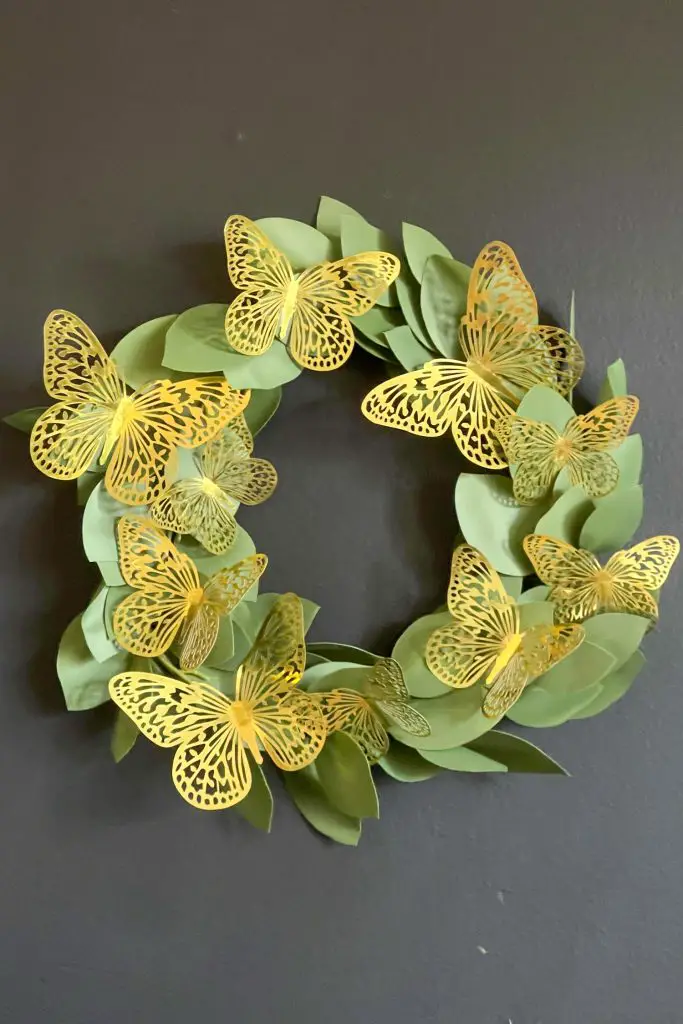
I wanted my butterflies so be more neutral, so I opted for gold butterflies that would help me achieve a more modern look. Switching up the types of butterflies and greenery you use in this project (like if you prefer more vibrant color), can make it fit any decor style.
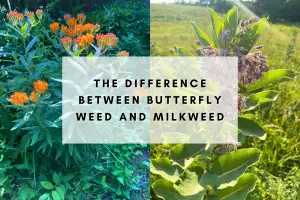
If I could change one thing about this project, I would have used a faux greenery that appears more like milkweed, the host plant for monarch butterflies, instead of these eucalyptus stems.
The eucalyptus turned out really lovely, but a longer skinnier leaf resembling milkweed would just be more in line with the butterfly theme.
However, the eucalyptus is really great quality and I know I’ll use it in other arrangements and vases in the future!
How to Make an Easy DIY Butterfly Wreath
This wreath was actually so simple to make. Especially once I got the hang of things. In all honestly, this is the first DIY wreath I’ve ever made. Which is actually a bit surprising since I’ve been blogging for over 10 years.
I’ll share the little tips I picked up along the way.
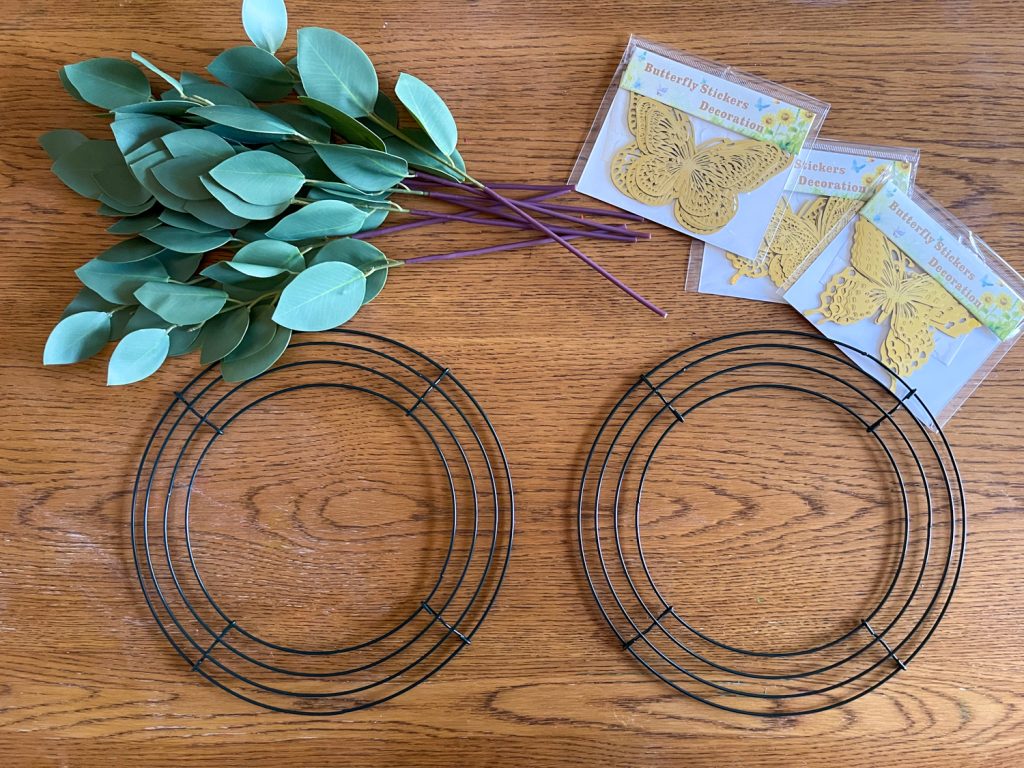
Supplies to make a butterfly wreath:
- wreath form – I recommend getting a bigger wreath form than I ordered
- butterflies – these come in several different colors and each pack has a variety of sizes
- greenery (real or faux)
- hot glue or double sided tape
I got all of my supplies on amazon, and linked them directly in the supplies list. But you should easily find all of these at any craft stores or store that sells craft supplies.
I also chose to use a metal wreath form, but really I think any type of wreath form would work, whether you prefer a grapevine wreath form or styrofoam wreaths.
I would recommend getting something bigger than a 10″ frame. I didn’t realize how small that would be. So if you go bigger, make sure you also have enough greenery to cover it.
Tips for Putting Together Your DIY Butterfly Wreath
I found weaving the greenery into the wreath form to be the hardest part of this project. If you aren’t new to wreath-making, this probably isn’t much of an issue for you.
As a first-timer, I had a few minutes of struggle before I figured out my strategy.
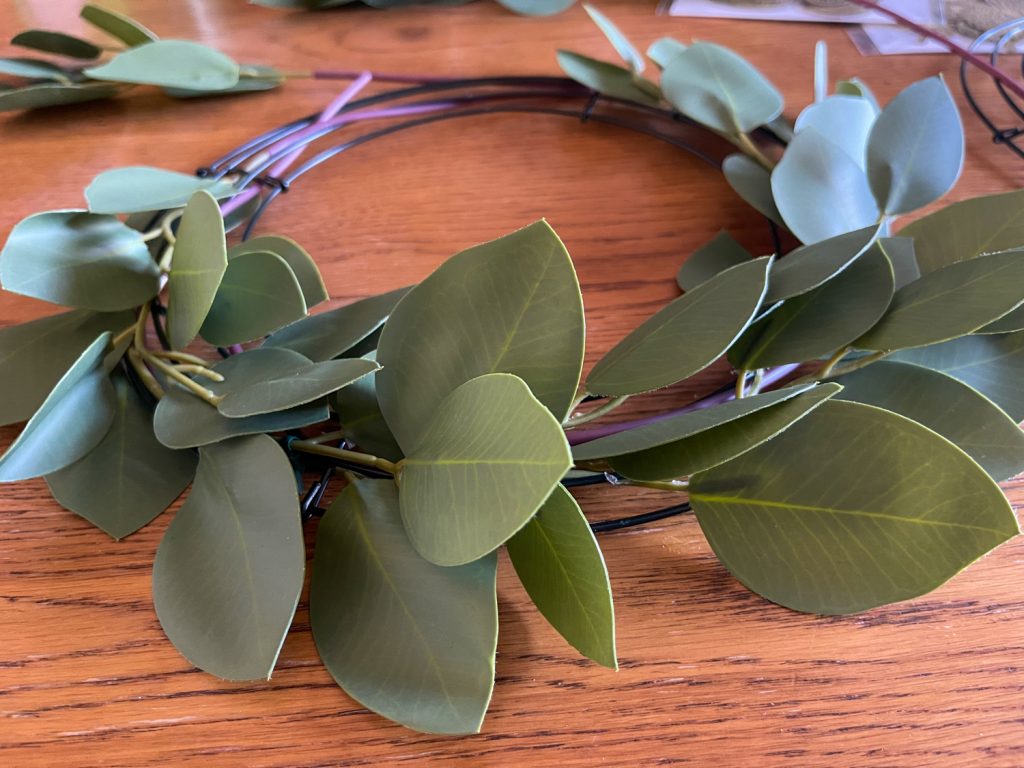
Originally I was trying to weave the stems in and around, shaping the faux stems around the form. I actually ended up with some leaves on the back of the wreath instead of facing forward where they’d help create a fuller look.
Then I decided to use the ties that came with my wreath forms to tie inconspicuous sections of the stems to the form, and that worked much better. Then I just had to tuck the end of the stems on the back end. My advice is to start with the ties.
Using bits of pipe cleaner, floral tape, or even green zip ties would also work perfectly to secure your greenery.
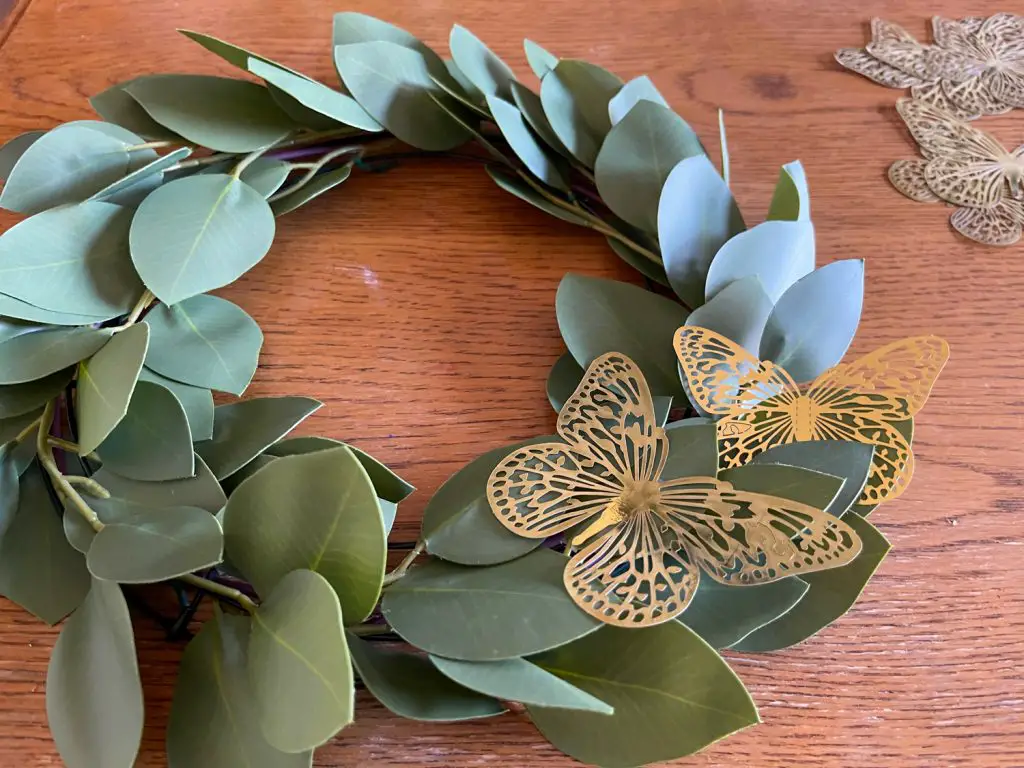
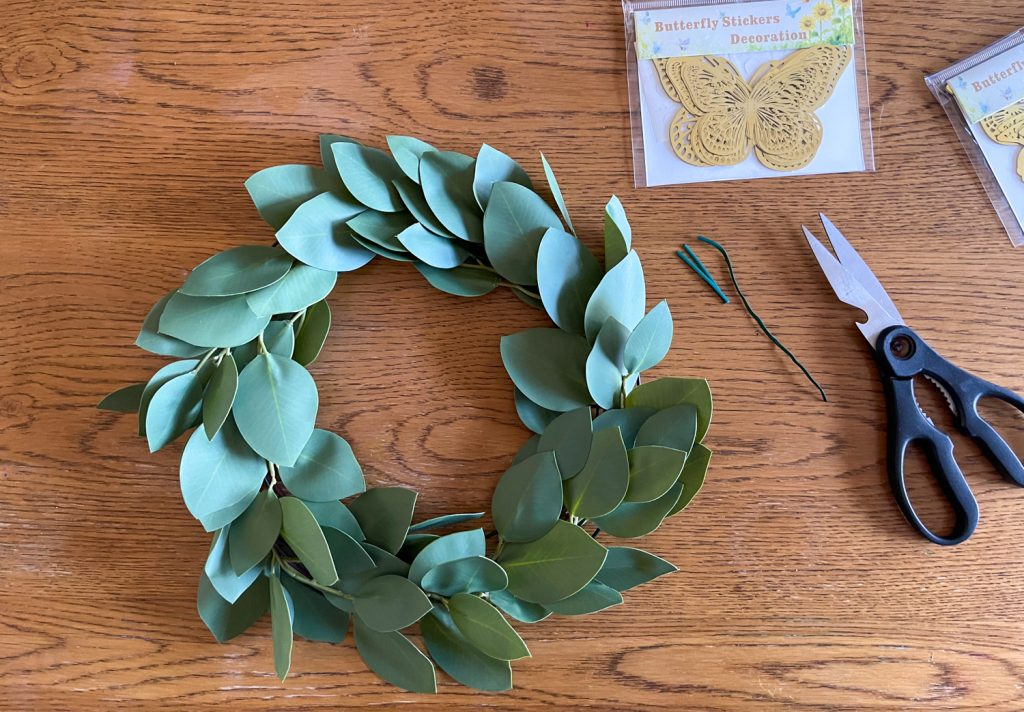
Then I just stuck my butterflies on with double sided tape, and ta-da! A beautiful spring project completed!
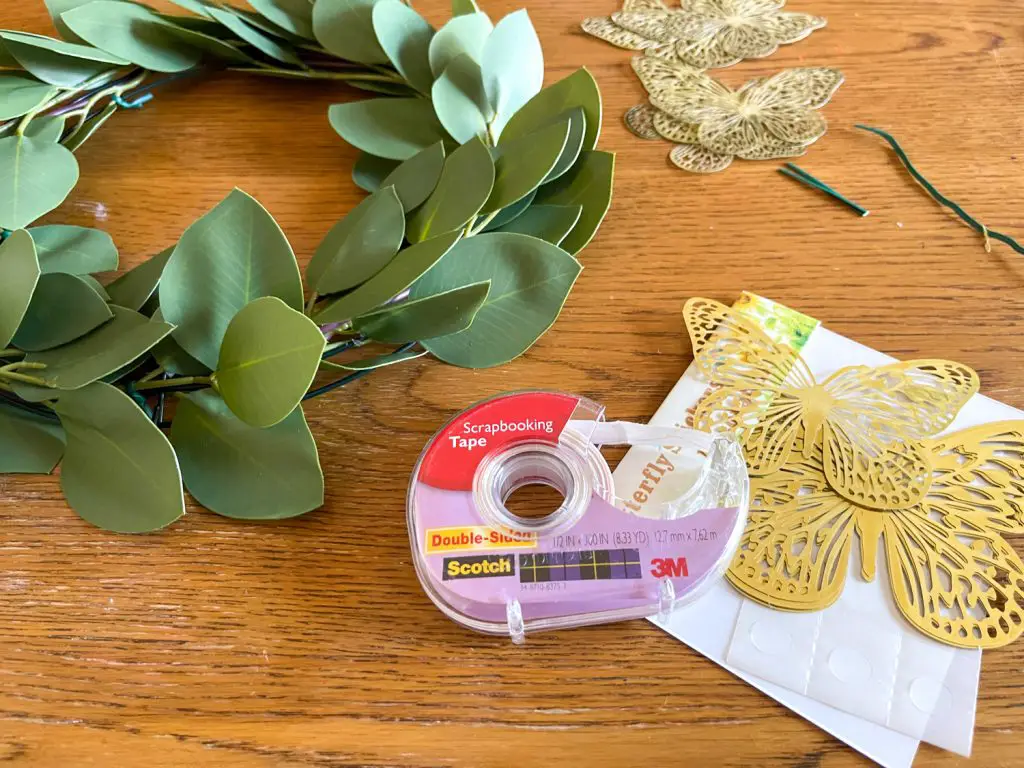
I was actually intending to superglue my butterflies on, but couldn’t find my glue gun. I found the double sided tape while rummaging around my craft closet and I think I prefer it to anything else.
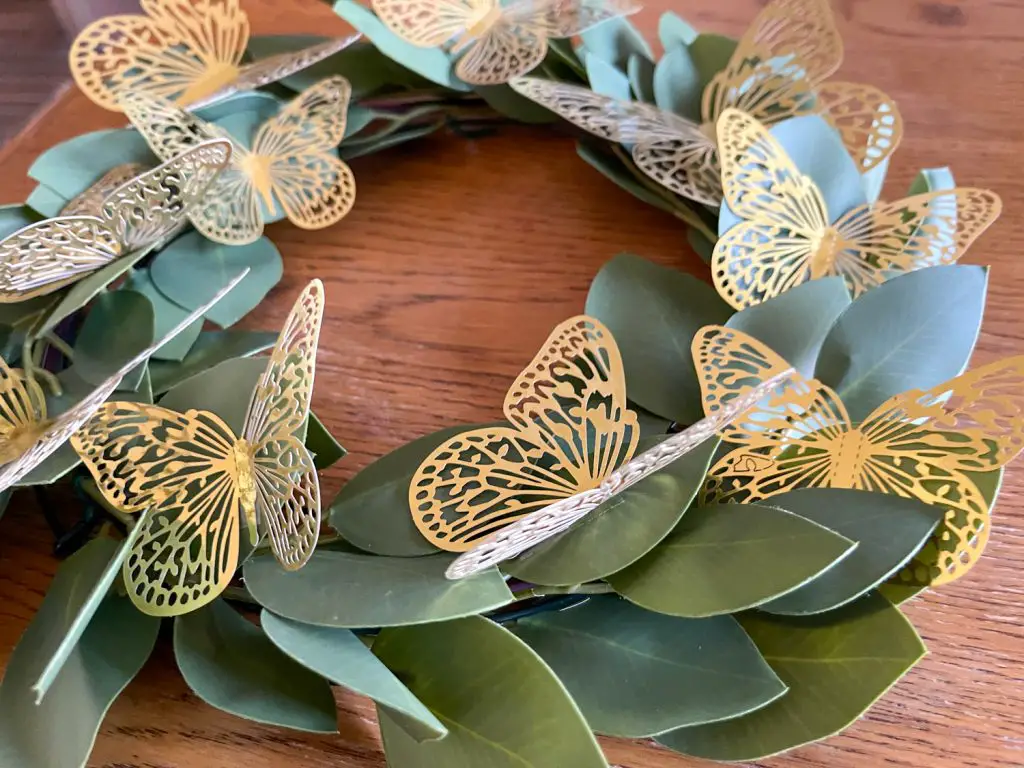
As you arrange your butterflies, try mixing smaller butterflies in with larger ones. If you’re printing out your own paper butterflies, print out a couple different sizes to give it a more varied look.
I really liked the butterflies I got from Amazon because there was already a crease to bend the wings of the butterfly to give it a more natural look.

These butterflies also came with a “sticker” to help attach them, but it was VERY sticky. I used it for a couple, but then I thought it might ruin the leaves of my eucalyptus, so I switched back to the double-sided tape.
I rearranged the butterflies a few times until I ended up with a look I like, and I’m pretty happy with how this little project turned out!
Hang it on your front door, or add it to a gallery wall or show it off on a shelf. So many ways you can display this wreath!
Save this DIY butterfly wreath project for later, or help share with others by pinning it to pinterest!

Want to learn more about butterflies while you’re here? We raise them!
Learn all about how to raise monarch butterflies inside.
Or attract more butterflies to your garden with these 8 herbs.
Don’t have space for a garden? Learn how to make a container pollinator garden instead!